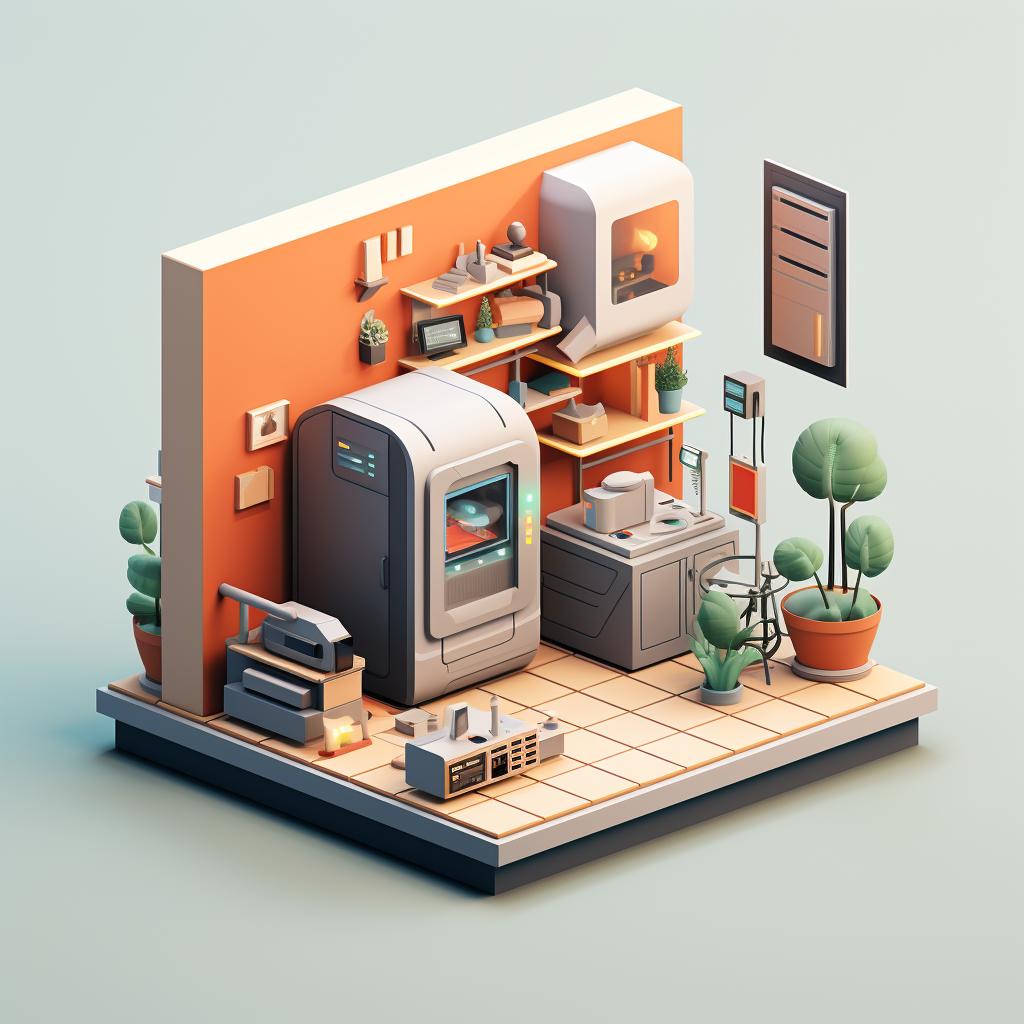
🔧 DIY 3D Printed Home Decor: A Step-by-Step Guide
Embarking on a DIY 3D printing project is an exciting venture that allows you to bring your unique home decor ideas to life. With our step-by-step guide, you'll be well-equipped to transform your space into a personalized haven. But before you get started, let's delve a little deeper into the world of 3D printing for home decor.
3D printing technology has revolutionized the way we approach home decoration. It allows us to create one-of-a-kind spaces with custom 3D printed home decor. Whether you're looking to add a modern touch with 3D printed accessories or enhance your home office with 3D wall decor, the possibilities are endless.
Why Choose 3D Printing for Home Decor?
One of the main benefits of 3D printing in home decor is the ability to customize. You can design and create pieces that perfectly fit your space and reflect your personal style. Plus, it's a cost-effective way to update your decor, especially for those with limited budgets.
Getting Started with 3D Printing
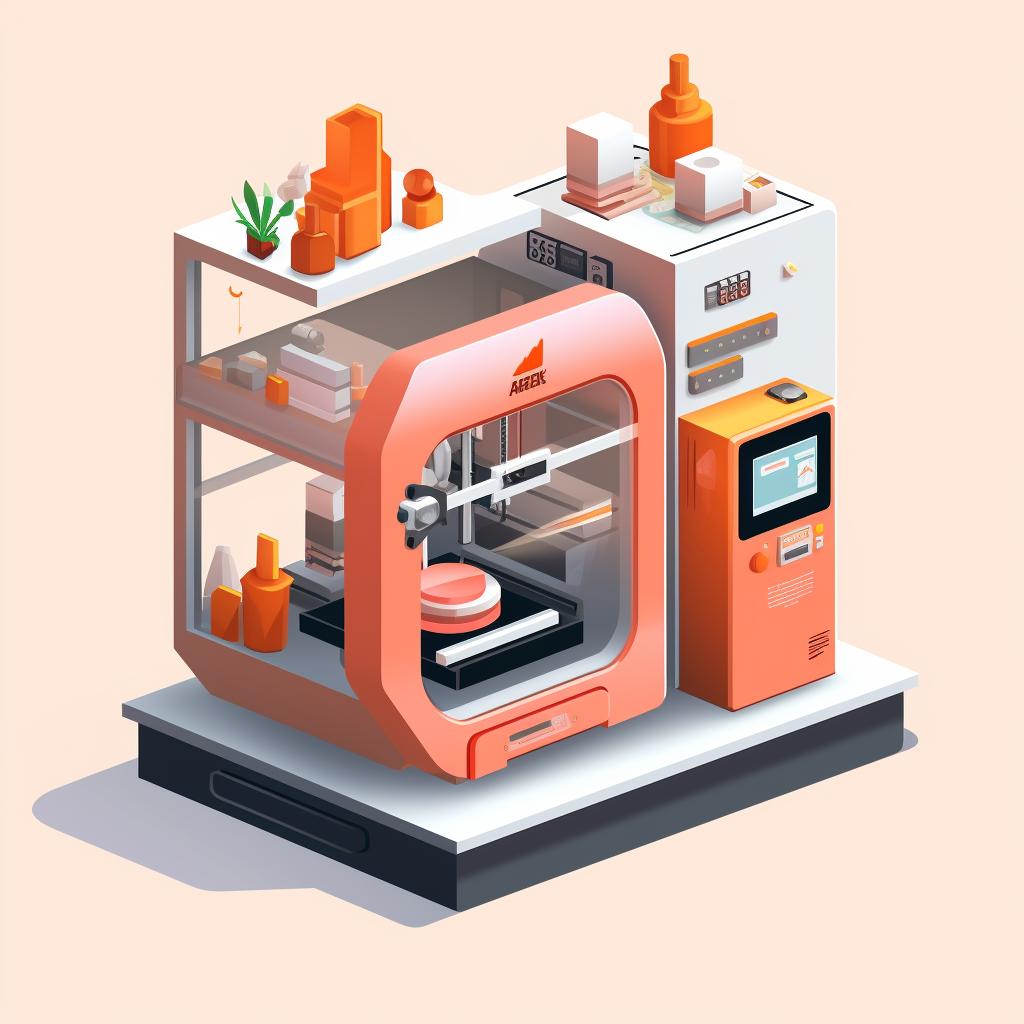
Before you start printing, it's essential to familiarize yourself with the process. Our guide provides a comprehensive overview, but for more detailed instructions, check out our article on DIY 3D wall panel installation.
Remember, patience is key when it comes to 3D printing. Depending on the complexity of your design, the printing process can take anywhere from a few hours to a few days. So, take your time, monitor the process, and soon enough, you'll have a unique piece of decor that's truly your own.
Ready to transform your home with 3D printed decor? Dive into our step-by-step guide and start creating today!

